10 Pantry Organization Ideas That Start With a 15-Minute Reset
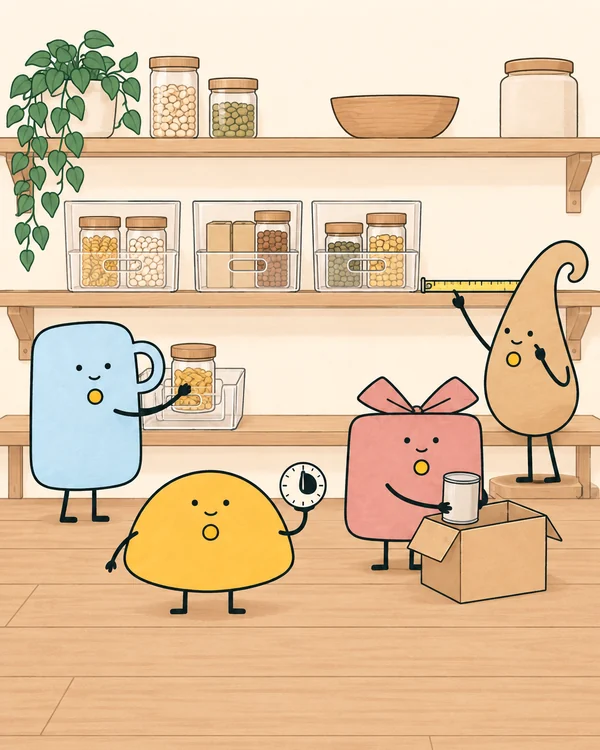
Pantry organization ideas only work on food you’ll actually eat. So start with one shelf and a 15‑minute timer: take out what’s expired, damaged or never eaten. Then give what’s left a zone, put the oldest in front, and label it. The 10 ideas below cost little or nothing, and you can do them one at a time.
Most of the ideas are our own practical suggestions, and we say so. The food storage facts come from Clemson University’s Home & Garden Information Center, Ohio State University Extension, the National Pesticide Information Center at Oregon State, and the U.S. EPA. Each one is linked where it’s used.

First: the 15‑minute pantry reset
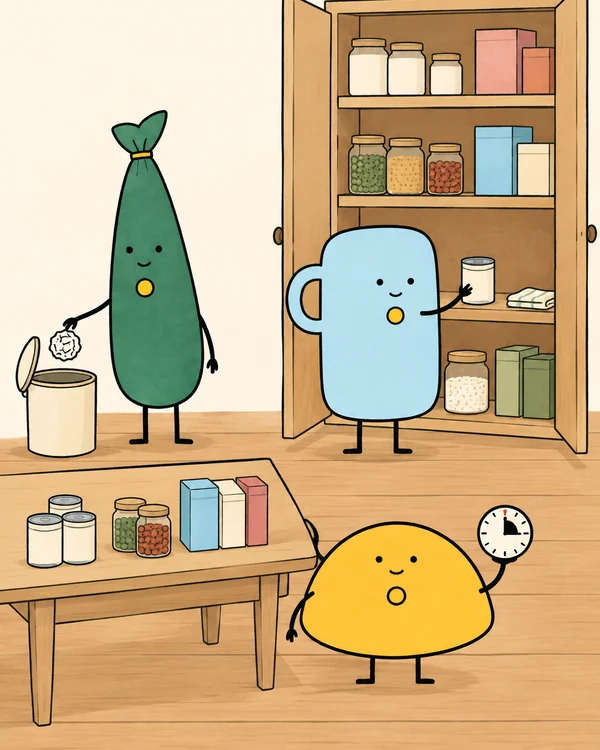
Pick one shelf, set a timer for 15 minutes and take everything off. Leave the other shelves for another day. Inside the timer, follow Dana K. White’s 5 steps from A Slob Comes Clean: trash first, then the easy stuff, then donations, and the hard decisions last.
What comes out:
- Bulging cans. Ohio State University Extension says “If cans are bulging, the food inside is spoiled and they should be discarded.” The same page warns that dents on the side seam or rim mean “the food was exposed to air.”
- Bags with bugs. The National Pesticide Information Center (NPIC) suggests taking inner bags out of boxes and checking them, “looking for clumps or webbing.”
- Food nobody eats. Unopened and in date? Put it in a give-away box. Food banks set their own rules, so ask yours what they take.
- Doubles you forgot about. Keep them, but set them aside. They go on the “use it up” shelf (idea 5) or the backup shelf (idea 2).
- Things that aren’t food. Take them back to their room.
Wipe the shelf before anything goes back. NPIC notes that pantry moth larvae “can survive on small amounts of food under cabinets and in corners.”
1. Give every shelf a zone
Group what’s left the way you cook, not the way the store shelves it. A starting point: baking, grains and pasta, breakfast, snacks, canned goods, sauces and oils, backups. Each group gets one spot. When you put the groceries away, you only have to answer one question: which zone?
In a small pantry, four zones are plenty. In a walk-in pantry, give each zone its own shelf, so a whole shelf comes out when you reset it.
2. Everyday food at eye level, backups up high
Put what you reach for every day between your shoulders and your waist. Heavy things (big cans, bags of rice, drinks) go low, where they’re safe to lift. The top shelf is for backups and things you use a few times a year.
The backup shelf has one rule: you only take from it when the everyday spot is empty. That way you see right away when you’re down to the last one.
3. A snack bin kids can reach
If you have kids, put their snacks in one open bin on a low shelf. They can help themselves, and the rest of the pantry stays out of reach. When the bin is empty, snacks go on the grocery list. This one is only our suggestion, so skip it if you’d rather hand out snacks yourself.
4. Oldest in front: first in, first out
When you unpack groceries, new food goes behind the old. Clemson’s Home & Garden Information Center puts it plainly: “FIRST IN, FIRST OUT. This means you use the oldest products first and the newest products later.” OSU Extension and NPIC give the same advice. NPIC adds it for a second reason: using older food first helps keep pantry moths away.
Dates on most pantry foods are about quality. Clemson notes that “Quality is not the same as safety” and that product dating “is optional on most products.” Writing the month you bought something on the lid with a marker helps when there’s no date at all.
5. A “use it up” shelf
Pick one spot, front and center, for the open bag of pasta, the half jar of peanut butter and the doubles you found in the reset. That’s what gets cooked first.
It pairs with two habits from the U.S. EPA’s page on preventing wasted food at home: “Look in your refrigerator, freezer, and pantry first to avoid buying food you already have,” and “Make a list each week of what needs to be used up and plan upcoming meals around it.” With a “use it up” shelf, that list takes ten seconds.

6. Airtight containers for flour, rice and cereal
Dry goods that come in thin bags or boxes do better in containers with tight lids. NPIC says pantry moth larvae “can chew through plastic bags and thin cardboard.” Clemson says that “Storing food in tightly sealed glass, metal, or rigid plastic containers may help reduce the chances of insect infestation.”
You don’t need to decant everything. Start with what you open most: flour, sugar, rice, oats, cereal. Cans and jars are already sealed, so they can stay as they are. For how many containers to buy and which kind, see our guide to pantry organization bins.
Where not to keep food. Clemson says “Storage areas near oven ranges, hot water pipes or heating ducts should not be used,” and that “High temperature or humidity may reduce storage time considerably.” If your pantry shares a wall with the oven, keep the backups somewhere cooler. OSU Extension also warns against storing canned goods in a hot garage or shed.
7. Risers for cans, turntables for corners
On a shelf of cans, the back row disappears. A step riser lifts each row so you can read every label. In a corner, a turntable (lazy susan) brings the back to the front with one turn. Oils, sauces and spices work well on one. Big boxes and bags don’t: they slide off.
Both are optional. Try the shelf without them first. If you still can’t see the back row after a week, that’s the shelf that needs one.
8. Make deep shelves pull out like a drawer
Deep shelves are where food gets lost. Put one long bin or a tray (a baking sheet works) on the shelf and keep a single group on it. When you need something from the back, you pull the whole bin forward instead of reaching over the front row.
Clear bins help here, since you can see what’s at the back without pulling anything out.
9. Use the back of the door
If the pantry has a door, the back of it is free storage. A slim over-the-door rack holds the small things that get lost on shelves: spice jars, seasoning packets, foil and wrap. Check that the door still closes and doesn’t hit the shelves once the rack is full.
No door? A narrow rack on a side wall does the same job.
10. Label the zones as well as the jars
A label tells everyone in the house where things go back. Masking tape and a marker are enough to start. Label the front edge of each shelf with its zone (“Baking”, “Snacks”, “Backups”), then the containers if you decant.
If you decant flour or rice, write the name on the container. Tape the cooking directions inside the lid if you need them.
Pantry organization ideas on a budget
You don’t have to buy anything for these. They are our own suggestions:
- Shoeboxes and delivery boxes as bins. Try them for a week before buying anything.
- Clean glass jars from pasta sauce or pickles for small dry goods.
- A baking sheet or tray as a pull-out drawer on a deep shelf (idea 8).
- Masking tape and a marker as labels (idea 10).
- A “use it up” shelf (idea 5): the cheapest idea on the list, and it saves food.
Small pantry or apartment cabinet
- Four zones are enough. Baking, grains and pasta, snacks, cans.
- Go vertical. Backups on the top shelf, heavy things on the floor of the cabinet.
- Use the door (idea 9). In a small pantry it can hold a whole zone.
- One reset per shelf. A small cabinet takes two or three timers in total.
Walk-in pantry
- One zone per shelf, with the zone label on the shelf edge.
- The floor is for heavy and bulky things only: drinks, big bags, the step stool. Clear floor space means you can walk in.
- Corners get turntables (idea 7).
- Reset it in rounds. One shelf per timer, spread over several days instead of a whole Saturday.
How to keep it organized
- Five minutes after shopping. New food goes behind the old, in its zone.
- Check the pantry before the list. That’s the EPA’s tip, and the “use it up” shelf makes it quick.
- When the bin is full, stop buying. Dana K. White’s rule: “Containers are for containing.”
- One shelf a month. Pull it out, check the cans and the bags, wipe it down. One timer is enough.
Where to go next
Ready to buy containers? Our guide to pantry organization bins shows how to count them first. Doing the rest of the kitchen? Start with our home organization ideas. Short on time? Try the 15-minute declutter. If the pantry feels like too much, read how to declutter when overwhelmed first.
Quick recap
- Reset one shelf in 15 minutes: bulging cans, buggy bags and food nobody eats come out.
- Give every shelf a zone.
- Everyday food at eye level, heavy low, backups up high.
- A low snack bin for kids, if it suits your house.
- Oldest in front: first in, first out.
- A “use it up” shelf, checked before every grocery list.
- Airtight containers for flour, rice and cereal, away from the oven.
- Risers for cans, turntables for corners.
- Deep shelves pull out like a drawer.
- The door holds the small stuff, and the labels go on the zones.

Sources
- Clemson Cooperative Extension, Home & Garden Information Center, “Food Storage: Pantry” (revised 2020): https://hgic.clemson.edu/factsheet/food-storage-pantry
- Ohio State University Extension, Wayne County, “Points to Ponder While Cleaning out the Pantry” (2016): https://wayne.osu.edu/news/points-ponder-while-cleaning-out-pantry
- National Pesticide Information Center, Oregon State University, “Pantry Moths”: https://npic.orst.edu/pest/pantrymoth.html
- U.S. Environmental Protection Agency, “Preventing Wasted Food At Home”: https://www.epa.gov/recycle/preventing-wasted-food-home
- Dana K. White, 5 Steps for Working Through an Overwhelming Mess (PDF), A Slob Comes Clean: https://www.aslobcomesclean.com/wp-content/uploads/2018/03/DASL-5-Steps-to-Working-Through-Mess.pdf
- Dana K. White, “Ooooooh. Container. Now I Get It.” A Slob Comes Clean (2010): https://www.aslobcomesclean.com/2010/05/ooooooh-container-now-i-get-it/